Securing Amsterdam against a direct terrorist threat
Posted on by Tijme Gommers.
[TL;DR] Using a mathematical model of security it is possible to calculate the position of roadblocks as (cost) efficiently as possible in case of a direct terrorist threat. Dive to the results to see the roadblock placements of Amsterdam during a critical threat level.
The Netherlands uses a system of threat levels that indicate the chance of a terrorist attack. The four ascending threat levels are:
- Minimal: an attack is unlikely;
- Limited: an attack is somewhat likely;
- Substantial: an attack is likely;
- Critical: there are very strong indications that an attack will take place.
The critical level can be announced for a specific part of the Netherlands. This usually means several visible security measurements will be taken. One of them could be setting up roadblocks around the specified area to make sure nobody can get in or out by car without passing a roadblock.
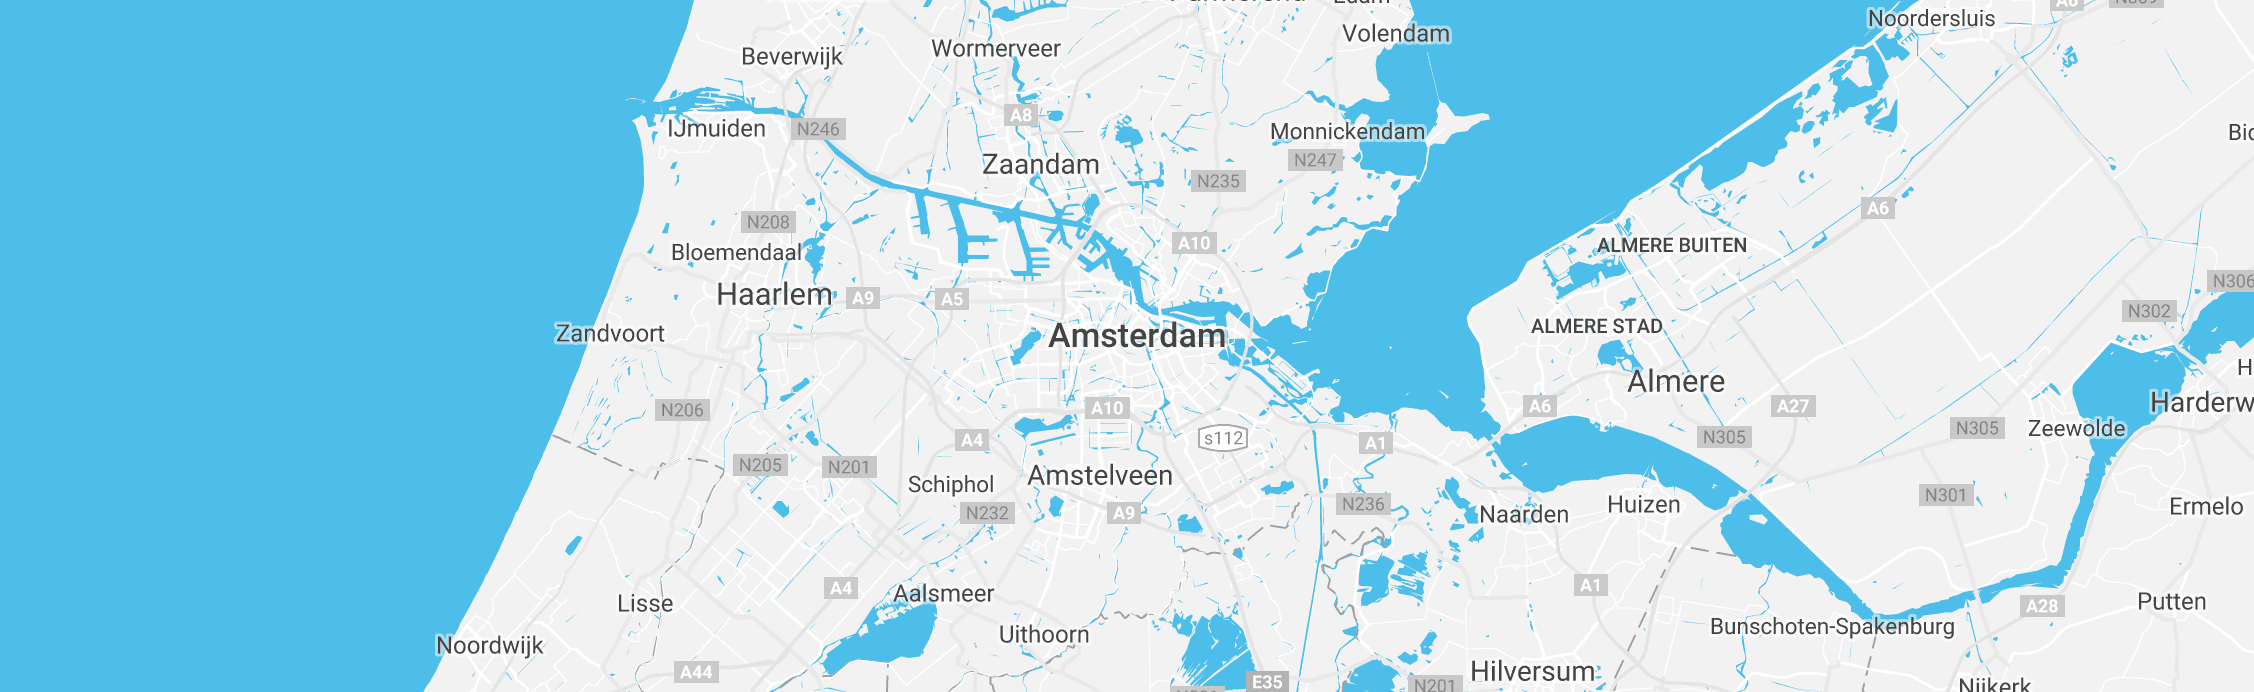
Mathematical algorithms like the Ford-Fulkerson’s algorithm can be used to calculate the position and amount of roadblocks around the specified area so as little as possible roadblocks are needed. In this article I will use Amsterdam Central Station as the target of the terrorist attack. An 8 to 12 kilometer zone around the central station will be declared as the safe zone. This zone will not be accessible without passing a roadblock.
From GeoJSON to Graph
Let’s start by downloading the GeoJSON data containing all the information about the roads. For popular cities, the data can be downloaded in IMPOSM format via Mapzen. If the data is not available on Mapzen you can download an XML export from OpenStreetMap, however, you need to convert this data to the GeoJSON/IMPOSM format yourself.
The pseudo code below shows how to create a graph from the GeoJSON data. When rendering this graph it results in a visual representation of the GeoJSON data (see Figure A). I recommend using Python and NetworkX to create the graph (since NetworkX has some cool algorithms that we can use later).
graph = new graph()

for road in json
    previous_coordinate = null

    for coordinate in road
        graph.add_node(coordinate)

        if previous_coordinate:
            graph.add_edge(previous_coordinate, coordinate)

        previous_coordinate = coordinate
Next up is the most important part, creating the super sink (safe zone). To do this, we need to set the target of the terrorist attack. I chose Amsterdam Central Station and an 8 KM radius around it. Every single coordinate (node) that’s in that 8 KM radius must not be added to the graph. Instead, every edge that connects a node outside the safe zone to a node inside the safe zone must be connected to the super sink node. This sounds pretty difficult but it’s actually quite easy. Look at Figure B for a visual representation of the super sink.
Figure A: Visual representation of the GeoJSON data
")
Figure B: The super sink that represents the safe zone
")
Figure C: The super source and super sink in one graph
")
The last thing to do in the graph is creating a super source. This is the same idea as creating a super sink, however, a super source connects all the nodes on the edge of the bounding box to a node (the super source) outside the graph. See Figure C for a visual representation.
Finding the Minimum Cut
The minimum cut is one of the basics of graph theory. If you’re not familiar with it I suggest that you to watch this short video about it. Now to find the minimum cut we can use algorithms like the Ford-Fulkerson algorithm. NetworkX has a built-in method to calculate the minimum node cut.
We need to calculate the minimum node cut from the super source to the super sink. NetworkX will return a set of nodes (as minimum as possible) that disconnect the source from the sink. We are going to use this set of nodes as our roadblocks.
To use them as roadblocks I created a new graph in NetworkX on top of the existing one. However, I used a bigger size for the nodes and a red color so they are clearly visible.
Results
Now that we found the minimum cut set (a set of nodes) we can add them to our graph to see where the roadblocks would be placed. In the visual representations below I used a black graph (containing all nodes and edges) as the background, a green graph (containing all nodes and edges inside the safe zone) and the earlier described red graph (which contains all the nodes from the minimum cut set).
8KM safe zone (needs 54 roadblocks)

12KM safe zone (needs 57 roadblocks)

And that’s how you zone control Amsterdam. Please note that the OpenStreetMap data I used could be wrong or incomplete. Data from OpenStreetMap should not be used in real life situations.